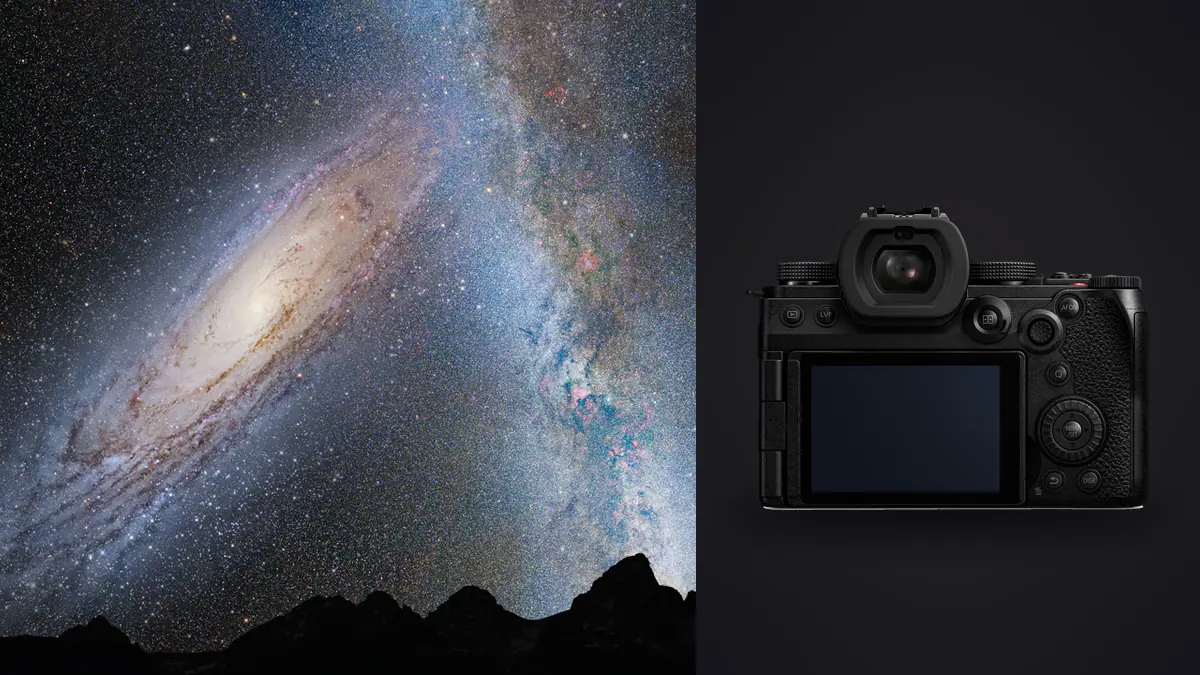
I've run three different mirrorless bodies through a full season of Milky Way stacking, and the Panasonic Lumix S5IIx is the first one where I stopped treating the star sequence as a chore to survive. Most of what makes it work isn't glamorous. It's a sensor that behaves at ISO 6400, a dual native ISO architecture that does something useful at night instead of just sitting on a spec sheet, and a body that doesn't quietly cook itself into extra noise over a forty-minute session. None of that shows up in a five-minute camera store demo. It shows up at 1am, on your third battery, checking histograms by headlamp with your hands too cold to feel the dial.
Why the Sensor Cooperates at High ISO
The S5IIx uses the same 24.2MP full-frame sensor family as the S5II, and for star work the resolution is almost beside the point. What matters is pixel pitch. At roughly 5.9 microns per photosite, this sensor sits in the same generation as the 24MP full-frame chips that a lot of astro shooters already trust, rather than the 60MP-plus bodies where each pixel gathers noticeably less light and star trailing shows up faster at the same shutter speed. A bigger pixel means more photons land on it during a given exposure, and for something as faint as a star field, that head start matters more than headline resolution.
The dual native ISO design gets marketed almost entirely toward the V-Log video crowd, but you can feel a version of it in stills too. Push a still frame up past roughly ISO 3200 and the noise character changes. It gets finer and less blotchy compared to a mid-range ISO like 1000 or 1600, which is the second gain stage doing its job. Practically, this changes how I plan a night. I don't fight the instinct to keep ISO low the way I would on a single-gain sensor. On a genuinely dark site I'd rather sit at ISO 5000 or 6400 for a shorter, sharper sub than drag the shutter out at ISO 1600 chasing a "cleaner" base ISO that isn't actually cleaner once you account for the star trailing a longer exposure buys you.
The Fan Nobody Asked For, and Why It Matters After Midnight
The S5IIx added an internal cooling fan that the standard S5II doesn't have, and Panasonic built it for people recording unlimited 4K and 6K video without a thermal shutoff. It sounds like a spec that has nothing to do with stacking stars. In practice it does something quietly useful for astro too: a sensor that stays cooler over a long session builds up less dark current, and dark current is exactly the kind of thermal noise that creeps into your subs as a shoot goes on. Compare frame three of a forty-frame sequence against frame thirty-five on a body without active cooling and you'll usually see more hot pixels and a warmer overall noise floor by the end. On the S5IIx that drift is smaller, frame to frame, across a long sitting.
It isn't silent. You'll hear a faint whir if you're standing close to the body, which is a non-issue for stills but worth knowing if you're also recording ambient audio for a time-lapse video alongside your stack. For a stills-only star session I just leave it running and don't think about it again.
Working Out Your Exposure Window Before You Get There
The old "500 rule" (500 divided by focal length) was built for lower-resolution sensors and it lies to you on a 24MP body, especially at wider apertures where coma stretches star points even before rotation blur sets in. A more honest starting point factors in your aperture and the sensor's pixel pitch alongside focal length. Working through that math for a handful of L-mount lenses people actually pair with this body gives a much more useful set of numbers than a rule of thumb:
| Lens (at working aperture) | Max single exposure before trailing | Practical ISO for a usable histogram | Subs for ~5 min total integration |
|---|---|---|---|
| Sigma 14mm f/1.4 Art @ f/1.8 | ~17 sec | ISO 4000 | ~18 |
| Sigma 24mm f/1.4 Art @ f/2 | ~10 sec | ISO 5000 | ~30 |
| Sigma 35mm f/1.4 Art @ f/2 | ~7 sec | ISO 6400 | ~43 |
| Lumix S 20-60mm kit @ 20mm, f/3.5 | ~15 sec | ISO 6400 (marginal) | ~20 |
| Lumix S 14-28mm f/4-5.6 @ 14mm, f/4 | ~23 sec | ISO 8000 (noisy) | ~13 |
The pattern worth noticing isn't any single row, it's the gap between the fast primes and the variable-aperture zooms. A slower lens forces you into either a longer single exposure (more trailing risk) or a much higher ISO to hit the same shutter speed, and either way you're fighting the sensor instead of working with it. If you're buying one lens specifically for this, buy the fast prime. The kit zoom is fine for learning the workflow on a budget, but you'll notice the ceiling within a couple of outings.
A Stacking Session, Start to Finish
The actual sequence I run looks like this. Get the tripod level and the composition locked before it's fully dark, because framing a foreground silhouette against a star field is much easier with some ambient light left in the sky. If there's a horizon element I care about, I'll grab a separate longer exposure of just the foreground during blue hour or with a headlamp for light painting, to blend in later.
Focus is manual, every time. Switch to manual focus, find the brightest star or planet in frame, punch in with the magnified live view, and nudge the focus ring until the point is as tight as it'll get. Then I tape the ring down with a scrap of gaffer tape, because a bumped focus ring thirty subs into a sequence is one of the more annoying ways to lose a night's work.
For the actual star sequence, I use the camera's built-in interval shooting rather than a separate intervalometer, dialed to the sub count and shutter speed worked out above. I turn off in-camera long exposure noise reduction for the sequence itself, since it doubles the time each frame takes by shooting a matching dark frame after every exposure, which adds up fast over thirty or forty subs. Instead I shoot five to ten dark frames once, at the end, at the same ISO and shutter speed with the lens cap on, and use those for calibration in the stacking software.
Cold weather notes that are specific to this body: the fully articulating rear screen gets noticeably stiffer to flip out once temperatures drop toward freezing, and it's easy to force it if you're wearing gloves and not paying attention. Battery life also drops faster than you'd expect below about 0°C. I carry three batteries and keep the spares in an inside jacket pocket rather than a camera bag, because a cold battery reads as nearly empty even when it isn't.
Sorting Forty Nearly Identical Frames Before the Stack
Here's the part nobody mentions in the marketing copy: a forty-frame star stack produces forty thumbnails that all look basically the same at a glance, and somewhere in that pile is the one frame where a plane crossed the sensor, the one where condensation started fogging the front element, and the one where autofocus breathing (or just a bumped tripod leg) softened the stars half a stop. Finding those by eye, at 2am, scrubbing through full-resolution RAWs one at a time, is exactly the kind of task I stopped doing manually a while back.
I run the sequence through imagic before it ever touches a stacking program. Its local sharpness scoring flags the soft outliers immediately instead of me pixel-peeping forty near-identical frames, and because it runs entirely offline, that matters at a dark site where there's no signal to lean on anyway. The duplicate and burst clustering is the other piece that actually earns its keep here: instead of forty separate thumbnails cluttering the library like forty separate photos, the whole sequence gets grouped as one set, so I can open the cluster, spot the plane trail or the soft frame, and pull it out before it ever gets fed into the stacking software and drags the alignment down.
Which Stacking Software Actually Plays Nice With the Raw Files
For untracked nightscapes with a foreground I still want sharp, Sequator and Starry Landscape Stacker are the two I reach for, since both handle star alignment and a foreground mask in one pass. If you're working purely tracked deep-sky data off a star tracker, DeepSkyStacker does a better job with dark, bias, and flat frame calibration, but it's overkill for a wide nightscape with a horizon in it.
The catch with Panasonic specifically: RW2 support in third-party astro stacking tools has historically lagged a bit behind new body releases, and I've had sequences where a stacker choked on the raw files or misread the embedded white balance. The reliable fix is converting the batch to DNG or 16-bit TIFF first, either through Panasonic's own converter or Adobe's free DNG Converter, before handing anything to Sequator. It's an extra step, but a much shorter one than troubleshooting a stack that silently failed to align half your frames.
Grading the Blend
Once the stack is flattened into a single image, the grading choices are mostly about restraint. The Milky Way core wants a gentle push toward warm cores and cooler dust lanes rather than a global saturation boost, and it's very easy to oversaturate the core into something that looks more like a sci-fi poster than a photograph of the actual sky. I'll hand-grade the first two or three composites from a night to a look I'm happy with, then rather than rebuilding that same curve and color balance from scratch on the rest of the night's compositions, I run imagic's apply_my_style against the remaining files. It's trained on the edits I've already made, so it carries the same white balance and contrast decisions across the batch instead of me eyeballing a match on each one, and again, no upload involved since I'm usually still nowhere near a signal when I'm doing this the same night.
If your color grading workflow more broadly needs a refresh, our color grading guide covers the underlying principles in more depth than I'm going to repeat here.
A Few Mistakes Specific to This Body
High Resolution Mode is not for stars, and it's worth saying plainly because it's tempting to reach for. The sensor-shift 96MP mode works by combining eight sub-exposures taken a fraction of a second apart, which is fine for a static landscape but useless for a star field, since the stars have moved measurably between the first and eighth sub-frame. The merge either introduces streaking artifacts around every star point or the software rejects the misalignment outright. Shoot standard single-frame RAW for astro and save High Res Mode for daylight landscape work.
Weather sealing on this body is solid around the main body seams, but I've had dew creep in around the memory card door on a humid coastal night more than once. There's no built-in lens heater on any Lumix body, so if dew is a real risk where you're shooting, a simple battery-powered dew band strapped around the lens barrel is worth packing. It's a cheap fix for a problem that otherwise ends your session an hour early.
On lens choice, if you're building an L-mount kit specifically for this: the Sigma 14mm f/1.4 DG DN Art is heavy and not cheap, but the corner coma control wide open is genuinely good, which matters more for star points than almost anything else in the spec sheet. The Sigma 24mm f/1.4 Art is the lighter, more versatile compromise that also does real work in daylight. The native Lumix S 20-60mm kit zoom will get you started and teach you the workflow, but as the table above shows, you'll be shooting more, noisier subs to compensate for the slower aperture, and you'll feel that ceiling within a couple of outings.
Frequently Asked Questions
Does the active cooling fan on the S5IIx actually reduce noise during a long astro session?
It's not a dramatic difference on any single 15-second sub, so don't expect a night-and-day change in one frame. Where it shows up is consistency across a long sequence: dark frames and hot pixel counts stay more stable from frame five to frame forty compared to a body without active cooling, because the sensor isn't slowly heat-soaking over the session. It's not a substitute for a good high-ISO noise floor, it just keeps thermal noise from stacking on top of what the sensor already produces.
Do I need a star tracker, or is in-camera stacking with the S5IIx enough?
For wide-field Milky Way nightscapes with a foreground in frame, untracked stacking off a sturdy tripod gets you most of the way there and keeps the workflow simple, which is the approach this whole guide is built around. A star tracker like a Move Shoot Move or a Star Adventurer earns its keep if you want much longer exposures per sub, lower ISO, or you're chasing a specific deep-sky target rather than a landscape composition. But once you add a tracker you still need a separate untracked exposure for the foreground to blend in afterward, since the ground blurs while the tracker follows the stars, so for landscape-astro work specifically, stacking alone is often the better use of a night.
What's the best L-mount lens for this camera for Milky Way work?
If budget and weight aren't a concern, the Sigma 14mm f/1.4 DG DN Art is the one I'd point people toward first, mostly for how well it controls coma in the corners wide open. The Sigma 24mm f/1.4 Art is my honest day-to-day recommendation though, since it's lighter, cheaper, and still earns its keep as a general-purpose lens when you're not shooting stars. The native Lumix S 20-60mm is a reasonable way to learn the process without buying a dedicated lens, understanding you'll need more and shorter subs to make up for the slower aperture.
Should I shoot compressed RAW, uncompressed RAW, or JPEG for star stacks?
Shoot RAW, full stop, since stacking software needs the bit depth to align faint stars cleanly without banding in the final blend. Panasonic's compressed RAW option is visually lossless in practice and saves a meaningful amount of card space across a forty-frame sequence, so I default to it. I'll switch to uncompressed only on a shoot where I know the foreground exposure is going to need heavy shadow recovery in the blend, since that's the scenario where the extra headroom is most likely to matter.
None of this is complicated once you've run the sequence two or three times end to end. The gear matters less than showing up on a clear, moonless night with an actual plan for how many subs you need and what you're going to do with the forty RAW files that plan produces. The S5IIx just happens to be forgiving enough that even a rough plan still gets you a usable stack, and for a night shoot where everything else is working against you, that margin is worth more than another stop of dynamic range on a spec sheet. If forty-plus subs per composition across a full night has you dreading the culling pass more than the cold, that's the part worth automating first, and it's covered in more depth in our breakdown of how AI photo culling actually works.