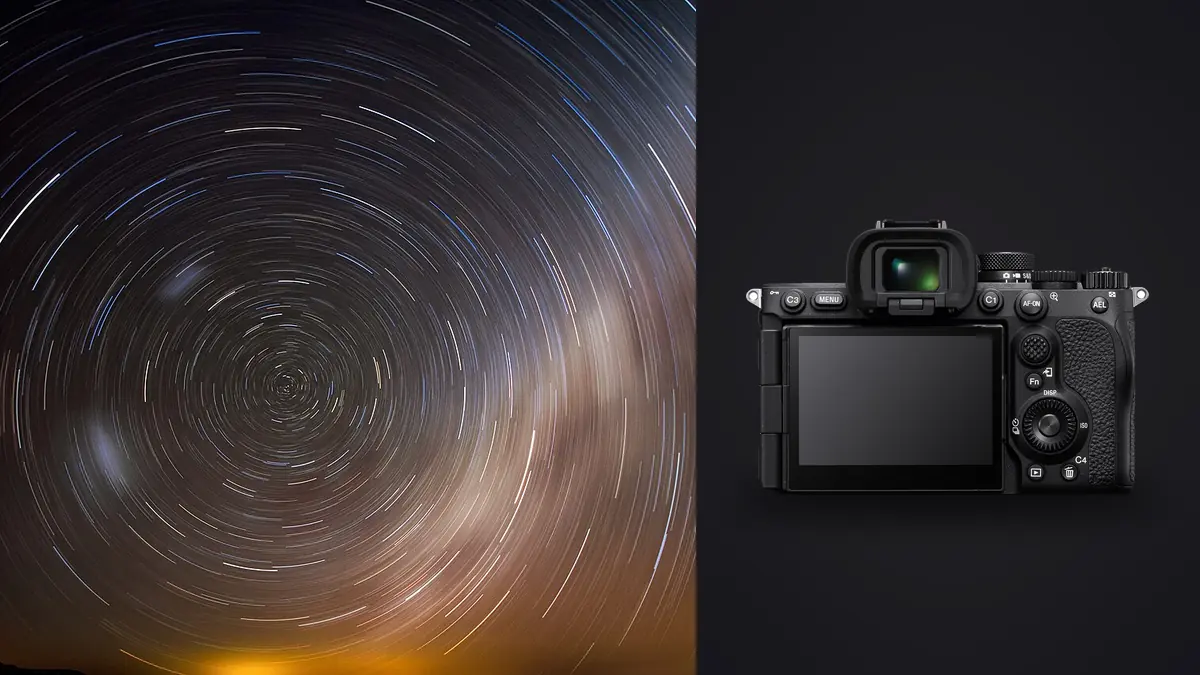
The Sony A7R V wasn't built with astrophotography as the headline use case. Sony sells it on resolution and subject-tracking autofocus for portrait, wildlife and event work. But a 61-megapixel full-frame sensor with genuinely usable high-ISO output, in a body that will run an intervalometer sequence for hours without a hiccup, turns out to be an excellent match for night sky shooting once you understand where the strengths actually help and where the quirks need managing.
I've run this camera through three full Milky Way seasons now, mostly from gravel pullouts and fire trails two or three hours clear of any real light dome, plus a run of star trail sequences shot from a fixed tripod position over three to four hours at a stretch. None of what follows is a spec sheet rehash. It's what actually changes in your settings, your focus routine, and the pile of RAW files you have to deal with afterward, specifically because of what this sensor and body do.
The resolution changes your noise math
A 61-megapixel sensor packs its photosites tighter than a 24 or 33-megapixel body of the same size. Pixel pitch on the A7R V works out to roughly 3.76 microns, smaller than the A7 IV or A7 III. Smaller photosites mean each one gathers less light before the signal has to be amplified, so at the pixel level, ISO 3200 on the A7R V looks noisier than ISO 3200 on a lower-resolution full-frame body next to it.
That sounds like bad news for star fields, where you're already fighting for signal in the shadows. In practice it matters less than the raw numbers suggest, for one reason: you almost never view a 61-megapixel astro image at 100%. Downsample a stacked A7R V file to a 4000-pixel-wide export for print or web and the per-pixel noise averages out. The extra resolution buys you real headroom to crop into a tight constellation or reframe a foreground you didn't quite nail on location, without the destructive tradeoff you'd get cropping a 24-megapixel file the same amount.
Where the pixel density genuinely bites is lens performance. At 61 megapixels the sensor resolves optical flaws that a 24-megapixel body simply blurs past. Coma and astigmatism in the corners of a fast wide prime, barely visible on a lower-res body, show up as smeared and elongated stars in the last quarter-inch of frame on this sensor. If you're pairing this body with an older or cheaper ultra-wide, expect the corners to be the weak point of the image, not the sensor.
Locking focus on stars in the dark
Autofocus is not part of this conversation. Even with Sony's improved AI subject recognition, there's nothing in a star field for the system to lock onto, and continuous AF will hunt indefinitely on a dim, low-contrast sky. Everything here is manual focus, and the A7R V's manual focus tools happen to be well suited to it.
My routine: switch to manual focus, find the brightest star or a distant light on the horizon, punch in with the magnifier button to the maximum zoom level, and turn the focus ring slowly until the point of light shrinks to its smallest, tightest dot. At 61 megapixels, that zoomed live view is sharp enough to see the difference between "close" and "correct" in a way that's genuinely harder to judge on lower-resolution viewfinders. Focus peaking, by contrast, is close to useless on a star field; the highlight overlay just doesn't trigger reliably on single-pixel points of light, so I turn it off for night work and rely on the zoom check alone.
Once focus is set, tape the ring or switch to DMF and leave it alone for the rest of the session. Temperature drop through the night can shift focus slightly on some lenses as the barrel contracts; if you're shooting a three-hour star trail sequence starting at dusk, it's worth a focus recheck an hour in rather than assuming your dusk focus holds until dawn.
Settings that actually hold up in the field
The "500 rule" divided by focal length gets thrown around a lot, but it was written for lower-resolution sensors. On a 61-megapixel body, star trailing becomes visible at shutter speeds the old rule would call safe, because you're resolving detail the rule never accounted for. I use the tighter "NPF"-style calculation as a starting point and then check the actual frame at 100% before committing to a sequence. Below is what I've settled on for the scenarios I shoot most, adjusted after checking each on location rather than trusting a formula alone.
| Scenario | Lens / focal length | Aperture | Shutter | ISO | Notes |
|---|---|---|---|---|---|
| Milky Way core, untracked, single frame | 14mm | f/1.8 | 8s | 3200 | Beyond 8s at 14mm, pixel-level trailing shows up on export crops even though it looks fine at full-frame preview. |
| Milky Way core, untracked, stacked | 14mm | f/2.0 | 6s | 2500 | 15 to 20 subs at these settings, stacked, beats one long exposure for shadow noise without visible trailing. |
| Milky Way core, star tracker | 24mm | f/2.8 | 90s | 800 | Stopping down one stop off wide open cleans up the corner coma that the resolution otherwise exposes. |
| Star trails, single long exposure | 20mm | f/4 | 25min (bulb) | 400 | Long exposure NR roughly doubles total time; I usually skip it and clean the single dark frame separately. |
| Star trails, stacked intervalometer | 20mm | f/2.8 | 30s x 120+ frames | 1600 | Electronic shutter, no NR, stack in dedicated software afterward; this is the sequence that generates the culling headache below. |
Star trails: one long frame or hundreds of short ones
The A7R V will happily do either, but they stress different parts of the camera. A single 25-minute bulb exposure is gentle on the buffer and battery but leaves you with one frame and no safety net; if something drifts into frame, dew fogs the front element halfway through, or a plane streaks across minute nineteen, the whole exposure is compromised and you start over.
Stacking a long sequence of shorter exposures instead means you can throw out the bad frames individually and keep the rest. I shoot star trails as 30-second subs on the electronic shutter (no mechanical shutter wear over a few hundred actuations, and no shutter shock to soften stars at the pixel level), interval timer set to fire back to back with minimal gap, for two to four hours. That produces anywhere from 240 to 480 RAW files per session.
Card and buffer matter here more than people expect. On CFexpress Type A, the camera clears a burst fast enough that the interval timer never has to wait on the buffer. On UHS-II SD, I've seen the write queue back up during long uncompressed RAW sequences, which occasionally means a gap in the trail where a frame got skipped. If you're planning a stacked trail longer than an hour, compressed RAW on a fast card is the safer combination, and it's worth testing your specific card before committing a whole night to a sequence you can't redo.
Battery is the other constraint. The NP-FZ100 is a good cell, but cold desert or mountain air at 2am cuts capacity noticeably. A four-hour trail sequence in near-freezing temperatures has drained a fully charged battery on me with about fifteen minutes to spare. I carry a second battery in an inside jacket pocket for anything longer than two hours.
What the stabilization and pixel shift modes are actually for here
It's tempting to assume 8-stop in-body stabilization means handheld night shots are viable. They aren't, not for anything past a couple of seconds at reasonable ISO; a tripod is not optional for star work regardless of how good the IBIS rating looks on paper. Where the stabilization does help is during framing and focus checks before the tripod is fully locked down, and on any wide-angle foreground element you're blending in at a faster shutter speed.
Pixel shift multi-shooting, which composites multiple shifted exposures into a single ultra-high-resolution file, isn't practical for star fields since it requires the subject to stay static across several frames taken seconds apart, and the sky doesn't cooperate at that timescale. It's genuinely useful for a static astro-landscape foreground shot separately and blended in during editing, but it's not a shortcut to a better night sky exposure on its own.
One feature that does earn its keep is the low-light live view boost some Sony bodies offer for composing in near-total darkness. Ordinary live view goes to a dim, grainy mess once ambient light drops low enough; the brightened preview mode makes it possible to actually see your foreground silhouette and rough composition before you commit to a test exposure, which saves a lot of guesswork when you're setting up a shot by headlamp.
From 300 raw files to a stacked image
This is the part of A7R V astrophotography nobody puts in the marketing copy: a decent night's shooting leaves you with hundreds of nearly identical 60-plus-megabyte RAW files, and sorting through them by eye is the least enjoyable part of the whole process. A four-hour star trail sequence at 61 megapixels can easily run past 25GB of RAW data before you've even opened an editor.
I run every session through imagic before anything else touches the files. The sharpness scoring catches the frames where focus drifted or a gust nudged the tripod, something that's genuinely hard to spot reliably across 300 thumbnails at 1am when you're tired and the frames all look roughly the same at a glance. For the Milky Way bracket sequences, where I'll fire off ten or fifteen frames at a single composition to pick the cleanest one for stacking, the duplicate and burst clustering groups those near-identical shots together automatically instead of leaving me to scroll past all of them one at a time looking for the sharpest.
The offline part matters more here than it does for most photography. Dark sky sites are dark sky sites because they're a long way from anything, which usually also means no signal and no wifi. Being able to cull a night's shooting on a laptop in the car at 2am, with everything processed locally and nothing waiting on an upload, is the difference between reviewing your take before you drive home or finding out three days later that half the sequence was soft.
For the color side, I trained imagic's apply_my_style feature on a set of Milky Way images I'd already graded by hand: a warm-neutral foreground with a slightly cooled, contrast-boosted core. Once it's calibrated to that look, running a new night's culled selects through it gets me most of the way to a consistent starting point across a whole season of shoots, rather than re-deriving the same grade from scratch every time I sit down to edit.
Stacking still happens in dedicated software
To be clear about where the line sits: imagic handles the culling and the color starting point, not the actual stacking. That part still happens in software built for it. I use Sequator for most Milky Way stacks and Starry Landscape Stacker for sequences where the foreground and sky need separate alignment treatment. Star trail stacking runs through StarStaX. None of that changes; what changes is that by the time those 300 raw files reach the stacking software, they've already been narrowed down to the sharp, non-duplicate frames worth aligning, instead of me feeding a stacker the entire unsorted card dump and hoping the outliers don't wreck the average.
Lenses that pair well with this body
Given how much the sensor resolves lens flaws at the corners, glass choice matters more here than on a lower-resolution body. The Sony 14mm F1.8 GM has been the most consistent performer I've used on the A7R V for wide astro work, with corner coma that's controlled enough to shoot close to wide open. The Sigma 14mm f1.4 DG DN is faster on paper and genuinely useful for untracked single frames where every fraction of a stop of light matters, though its corners need stopping down to about f/2 before they clean up on this sensor. For tracked sequences where a slightly narrower field of view is fine, the Sony 20mm F1.8G is smaller, lighter, and holds up well into the corners at f/2.8.
For context beyond the mastering sony a7r v for astrophotography star stacking guide focus in entry 114, continue with desktop editor overview and imagic's local photo workflow. These resources connect the subject to a practical local review process.
Frequently Asked Questions
Does the A7R V's 61-megapixel sensor mean more noise in star photos than a lower-resolution Sony body?
At the pixel level, yes, slightly, because the individual photosites are smaller and gather less light before amplification. In a final image viewed or printed at normal sizes, the difference mostly disappears once you downsample from 61 megapixels, and stacking multiple exposures closes the rest of the gap. The resolution becomes a genuine advantage for cropping into a tight section of sky or reframing a foreground after the fact.
Do I need a star tracker with the A7R V, or does the in-body stabilization cover it?
The stabilization doesn't substitute for a tracker. IBIS compensates for handheld camera shake over fractions of a second; it does nothing for the earth's rotation across a 30 or 90-second exposure. A tracker is still the only way to get pinpoint stars at long shutter speeds without stacking dozens of shorter frames instead. What the stabilization does help with is framing and focus checks before the tripod is locked, and any separately-shot foreground element.
How many frames should I stack for a clean Milky Way image with this camera?
For untracked shots I generally land on 15 to 20 subs at 6 to 8 seconds each, which cleans up shadow noise noticeably compared to one exposure without introducing visible star trailing at 14mm. With a tracker running, fewer, longer subs work just as well since you're not fighting the trailing constraint. The exact count matters less than making sure the frames you're stacking are actually sharp and free of tripod shake, which is the step worth automating rather than eyeballing.
Is pixel shift multi-shooting useful for astrophotography on the A7R V?
Not for the night sky itself. Pixel shift needs the scene to hold still across several exposures taken seconds apart, and stars move continuously, so the composite falls apart on anything but a static subject. It's better suited to a separately captured, static foreground element (a rock formation, a tree line, a cabin) that you then blend with your star exposure during editing, rather than a shortcut for the sky portion of the shot.