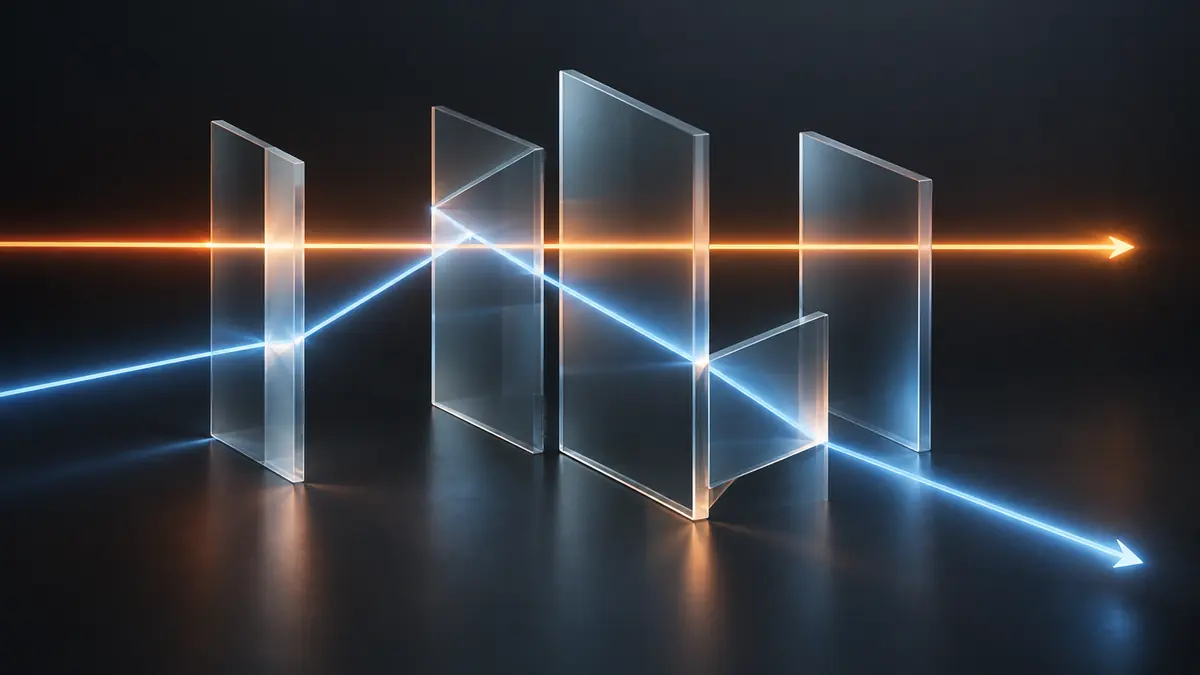
Darktable and Lightroom can both turn a high-dynamic-range RAW capture into a finished photograph, but they expose that transformation differently. Darktable's modern scene-referred workflow encourages most technical adjustments to happen while pixel values still represent scene light in a linear RGB space. A late tone-mapping step then compresses that open-ended range for a display or print. Lightroom presents adaptive controls such as Exposure, Highlights, Shadows, Whites, and Blacks without exposing a comparable module graph or editable processing order.
Calling one application scene-referred and the other display-referred is useful shorthand, but it should not be mistaken for a complete description of their internal mathematics. Lightroom's RAW engine performs sophisticated camera-space and tone-mapping work before a visible image appears. The practical difference is control and mental model: darktable asks the editor to understand where operations sit in a pixel pipeline, while Lightroom concentrates the experience around image-adaptive sliders and a fixed internal process.
What scene-referred editing means
A RAW file records measurements related to light captured by the sensor. Before those values can be shown on a normal monitor, they need demosaicing, color interpretation, white balance, and a mapping from the scene's large brightness range into the display's smaller range. In a scene-referred workflow, operations such as exposure correction, color balancing, and some forms of contrast adjustment are designed to work before that final display mapping.
Darktable's scene-referred module order performs many operations in linear RGB and places a tone mapper, commonly filmic rgb or sigmoid, near the output side. Filmic RGB maps a scene's black and white extremes into the usable output range while providing controls for contrast and highlight behavior. Sigmoid provides a different tone and color response with a more compact control surface. They are alternative approaches to the same unavoidable task: translating scene values into a viewable medium.
This model separates two questions that are often tangled together. First, is the scene exposed and color-balanced correctly in processing? Second, how should that scene be rendered for a particular output? The separation can make difficult backlight, bright signs, reflective products, and interior windows more predictable, but only after the editor learns which modules belong on each side of the mapping.
What Lightroom exposes instead
Lightroom Classic uses Camera Raw process versions to render and adjust photographs. Its Basic panel controls are image adaptive, which means moving one control can change the behavior or useful range of another. Exposure broadly shifts image brightness; Highlights and Shadows target tonal regions; Whites and Blacks help establish endpoints. Profiles, curves, color controls, and local masks add further interpretation, but the application does not ask the user to arrange them in a visible pixel pipeline.
This is not simply an inferior or less technical approach. It trades explicit pipeline control for a guided interface. A photographer can often reach a balanced image quickly because the sliders are named after visual intentions. The cost is that it can be harder to reason about why a large highlight recovery changes local contrast, why two controls interact, or which operation happened before another.
Lightroom also protects users from many invalid processing orders by fixing the engine. Darktable allows more freedom but expects more responsibility. Moving a module or combining legacy display-referred modules with a scene-referred stack can produce halos, hue shifts, or harsh transitions that are symptoms of pipeline design rather than a weak RAW file.
Compare equivalent editing decisions, not slider names
| Editing decision | Darktable approach | Lightroom approach |
|---|---|---|
| Set overall exposure | Exposure module before tone mapping | Exposure in the Basic panel |
| Compress scene range | Filmic RGB or sigmoid | Adaptive tone controls and process rendering |
| Balance color | Color calibration or color balance RGB | White balance, profile, Color Mixer, and grading |
| Shape local contrast | Scene-compatible contrast tools in deliberate order | Texture, Clarity, curves, and masks |
| Control module sequence | Visible order with constraints and options | Engine order largely hidden and fixed |
A common migration mistake is to map slider names directly. Darktable's filmic white relative exposure is not Lightroom's Whites slider, and color balance RGB is not merely a renamed Color Grading panel. Start from intent instead: protect a bright cloud, neutralize a color cast, add midtone contrast, or establish a print-ready black point. Then choose the native tool designed for that task.
Another mistake is trying to make the unedited previews match. Camera profiles, default curves, white-balance interpretation, and embedded previews differ. The useful comparison is whether each application can produce the required finished color and tone with a repeatable process, not whether their starting thumbnails look identical.
Build a clean darktable scene-referred starting point
Use the current scene-referred workflow and leave the standard module order intact while learning. Begin with a representative image that includes important highlights, useful shadow detail, and a known neutral if available. Disable accidental auto-applied styles from older experiments so the starting stack is understandable.
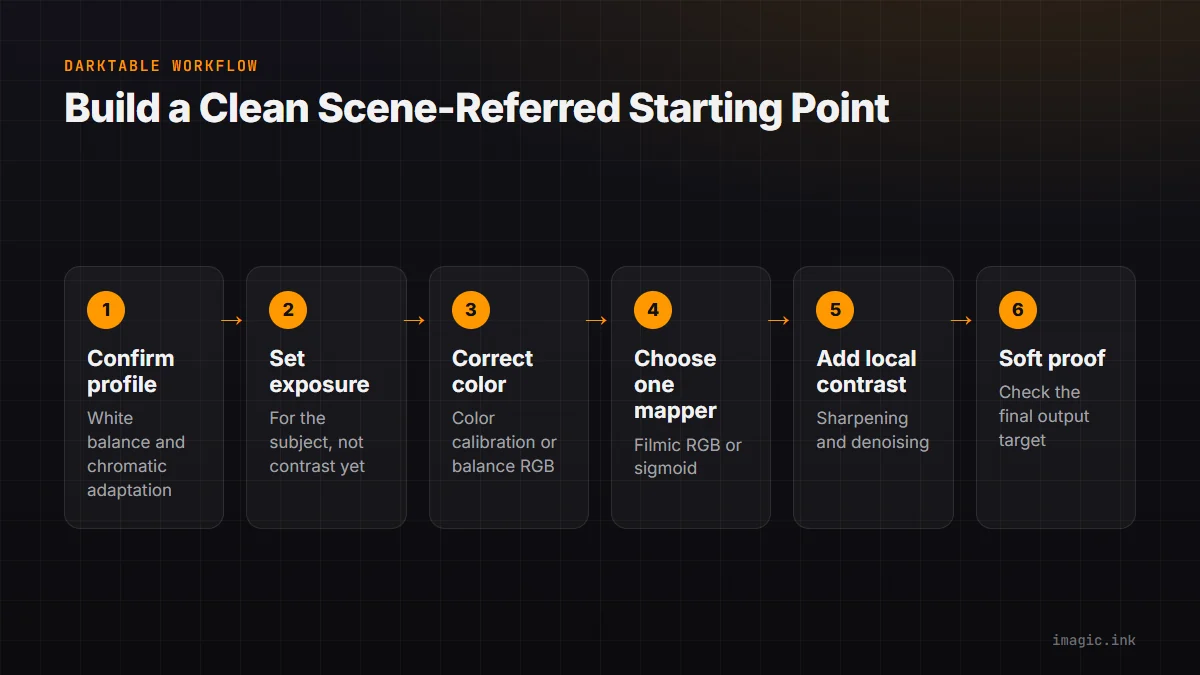
- Confirm input profile and white balance or chromatic adaptation behavior.
- Set exposure for the subject without trying to finish contrast at the same time.
- Use color calibration or color balance RGB to correct casts and establish color relationships.
- Choose filmic RGB or sigmoid as the principal display mapping, not both without a specific reason.
- Add local contrast, sharpening, denoising, and creative color with modules suited to the scene-referred stack.
- Soft proof and adjust for the final display or print target.
Make one substantial move at a time and watch the histogram as well as the image. If highlights become gray or saturated colors shift strangely, inspect the tone mapper and gamut handling before stacking more corrective modules. If shadows become brittle, verify exposure and black mapping before reaching for aggressive local contrast.
Presets should represent stable technical choices, not force every photograph into the same dynamic range. A camera input preset, a denoise starting point, and an output-oriented style are easier to maintain when they have separate purposes.
Local adjustments need the same discipline. A drawn or parametric mask defines where an operation acts, but the masked module still occupies a particular pipeline position. If a bright face is lifted before tone mapping, the adjustment changes the scene values that the mapper receives. If a later display-oriented operation is used, it changes an already rendered relationship. This is why two masks with similar visual shapes can produce different edges or color. When a local correction looks brittle, simplify the stack, inspect the module order, and verify that the chosen tool was designed for the data range it receives.
Save a duplicate edit state before reorganizing modules on an important image. Darktable's history and sidecar model makes experimentation reversible, but a named checkpoint is easier to compare than a long sequence of toggles. Evaluate the result at fit view, at detail view, and through the intended output profile. A correction that looks elegant at high magnification can create an obvious halo when the whole composition is visible.
Translate a Lightroom habit without copying it
A Lightroom user may begin with profile, white balance, Exposure, Highlights, Shadows, Whites, and Blacks, then add presence and color. The darktable translation is a sequence of decisions. Exposure establishes the scene level. Filmic RGB or sigmoid determines how the dynamic range reaches output. Color balance RGB handles contrast and color relationships. Tone equalizer can address spatially localized brightness without pretending that a global tonal slider is a local correction.
Do not recreate an old Lightroom edit by matching numeric values. Export a reference JPEG or TIFF, keep the original RAW, and match the visual priorities: subject brightness, highlight separation, shadow openness, skin hue, saturation, and local emphasis. Exact matching may be impossible because profiles and rendering differ, but a consistent new result is more useful than numerical imitation.
For an active archive, migrate only when there is a reason. Existing Lightroom renders can remain the record of completed work, while new jobs begin in darktable. Re-editing every historical image adds risk and time without improving current delivery. Preserve sidecars, catalogs, original RAW files, and representative exports before changing systems.
Evaluate highlight and color behavior carefully
Scene-referred tools do not create detail that the sensor clipped. They can map recoverable channel data gracefully, reconstruct small clipped areas, and compress bright values, but a featureless overexposed region remains featureless. Judge highlight recovery at useful output size and distinguish texture from a smooth, plausible transition. Excessive reconstruction can invent color edges that are more distracting than a clean white area.
Saturated colors are another stress test. Concert LEDs, flowers, painted products, and warning signs can exceed an output gamut even when luminance is controlled. Watch individual channels and use gamut-aware tools rather than lowering global saturation until the whole photograph looks dull. Darktable exposes more of this management; Lightroom handles more of it behind visual controls. Neither removes the need for a calibrated display and a defined output color space.
A scene-referred workflow is not a look. It is an order of operations that preserves useful scene relationships until the image must be rendered for an output.
Choose based on repeatability and required features
Darktable fits editors who want open-source software, visible pipeline logic, and deep control over module behavior. It rewards study and careful preset design. Lightroom fits editors who value a polished integrated catalog, familiar adaptive controls, broad training resources, and interoperability with the Adobe ecosystem. The correct choice depends on the whole job, not one tone-mapping comparison.
Some photographers separate culling from RAW development. For example, imagic can locally score sharpness, exposure, closed eyes, and composition, group duplicates and bursts, and pass a smaller set into the chosen editor. That does not turn it into a Lightroom catalog or a darktable replacement. It simply keeps file review from dictating the RAW processor choice.
Try a controlled comparison with several difficult files and a written output target. The free single-photo editor can help with a quick isolated adjustment, while the Software Comparisons section provides context for evaluating broader workflows. Record how each application handles import, correction, reuse, export, and later revision, not just how quickly one hero frame is completed.
Frequently asked questions
Is Lightroom entirely display-referred?
That label is an oversimplification of Lightroom's internal RAW engine. The practical distinction is that Lightroom exposes adaptive visual controls, while darktable explicitly organizes many operations in a scene-referred pixel pipeline.
Should darktable use filmic RGB and sigmoid together?
Usually choose one principal display-mapping approach. Combining them without a specific technical purpose can make contrast and color behavior harder to reason about.
Why does a RAW file look different when first opened in each editor?
Default profiles, tone curves, white-balance interpretation, and preview handling differ. Compare finished results built toward the same target rather than expecting identical starting previews.
Can darktable reproduce every Lightroom edit exactly?
Not exactly, because the rendering engines and tools differ. It can often reproduce the intent, but the most reliable migration keeps a reference export and rebuilds the look using darktable's native controls.