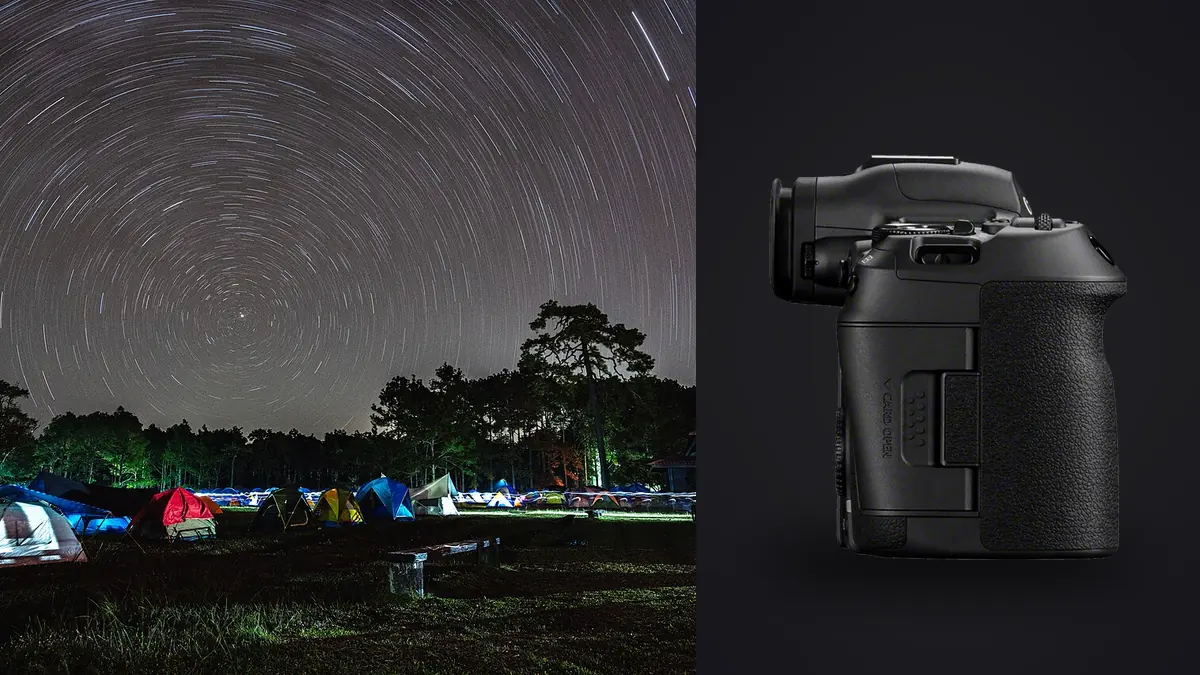
Astrophotography with the Canon EOS R5 Mark II creates several file types that may look deceptively similar: sky exposures for stacking, foreground exposures, focus checks, tracker tests, and calibration frames. A generic duplicate-removal pass can damage the project by discarding the repeated sky files that make the final noise reduction possible. The workflow must understand capture intent before it judges redundancy.
This RAW Workflow preserves CR3 sequence order, separates calibration and foreground material, uses automated quality analysis only where it fits, and prepares uniform inputs for specialist stacking software. It also records enough lens and location context to explain corner star shape, gradients, and focus changes later.
Write a sequence plan before opening the shutter
Define separate groups for untracked sky, tracked sky, foreground, focus verification, and calibration. Record lens, focal length, aperture, exposure pattern, interval, tracker state, and approximate focus method. The exact plan can change with weather, but every transition should create a new group in the notes.
Synchronize the camera clock with any second body, interval controller, or tracker log. Use a visual marker at group boundaries that will not disturb other observers or appear in valid calibration material. A deliberately short frame of the foreground or a written frame-number note is safer than flashing a bright light across a dark site.
Keep foreground strategy explicit. A foreground made during blue hour, under moonlight, with artificial light, or at the same time as the sky carries a different relationship to the final scene. File labels should make those differences visible rather than allowing the composite to imply one exposure moment.
Capture CR3 groups with stable variables
Choose a CR3 setting that preserves the required RAW latitude and keep it stable throughout a planned sequence. Hold framing, focus, aperture, and white balance while the stack runs. If a setting changes, stop and start a new group. A note is more reliable than trying to discover the boundary from thumbnails after a long night.
Check focus on a bright star with magnified live view, then verify corners as well as the center in a test frame. Temperature, lens movement, dew, and a bumped focus ring can change results over time. Capture periodic checks without mixing them silently into the stack.
Protect the sequence from vibration and stray light. If a car, headlamp, airplane, or cloud affects a frame, note its number without deleting it in the field. Some transient artifacts can be rejected during stacking, and the adjacent files may show whether the issue was brief or persistent.
Ingest cards into an immutable source layer
Copy every card into a card-specific originals folder, verify expected counts and representative CR3 files, then create a second verified copy on separate storage. Keep cards unformatted until both copies and the project policy permit reuse. Do not begin the stack from a single unverified working directory.
Preserve camera filenames and chronology through the first review. When renaming, use a padded sequence number and group code while retaining a mapping to the original name. Calibration folders should state method and relationship to the light frames, not merely contain files that look black or evenly illuminated.
Create distinct directories for CR3 originals, accepted stack members, rendered inputs, stack outputs, foreground masters, and final composites. Generated intermediates can be replaced; original light and calibration frames cannot. Keeping them apart prevents an export cleanup from removing source data.
Cull defects without collapsing the star sequence
View the group as a contact sheet first, looking for brightness changes, cloud, intrusion, tracker error, and framing shifts. Then inspect representative files from the start, middle, and end at equal magnification. Compare corner and center stars to distinguish focus drift, field behavior, vibration, and tracking error.
imagic supports CR3 and can analyze local sharpness, exposure, composition, and near-duplicate relationships. A stack group will naturally look duplicate-like, so use grouping to navigate it rather than to keep only one frame. Culling sets statuses and does not delete originals.
Mark each excluded frame with a reason such as cloud, trail, focus, vibration, obstruction, or test. A reasoned exclusion list makes the stack reproducible and helps diagnose field technique. If an automated score looks outdated or inconsistent, check freshness; reselecting only re-ranks stored scores.
Audit focus, tracking, and sky brightness over time
Create matched previews with identical provisional settings. Automatic per-frame development can hide a rising background level or color gradient. A fixed baseline reveals moonrise, approaching cloud, local light, and changes in transparency. Split the sequence if conditions differ enough that one development no longer fits.
Inspect star shape across the frame. Uniform elongation may indicate tracking or vibration; changing corner behavior may point to focus, tilt, or lens characteristics. Do not call a pattern a camera defect without isolating the variables. The notes about lens, support, and tracker are essential to that diagnosis.
High resolution can make minor errors conspicuous at full magnification, but stack suitability depends on alignment and final scale. Reject frames that damage registration or detail, not merely those that fail an unrealistic pixel-level expectation. Test a small stack when the boundary is uncertain.
Prepare consistent files for the stack application
If the stacking software reads CR3 directly, record its RAW-development choices. If rendered intermediates are required, apply one profile, lens correction, white balance, exposure baseline, and restrained noise treatment to the accepted sky files. Use a high-quality format supported by the next stage and keep the output order intact.
Avoid strong sharpening, local contrast, gradient correction, or local retouching before registration. Those operations can alter star profiles and background statistics. Calibration, alignment, and combination should occur before creative finishing unless the specialist application's documented workflow requires otherwise.
imagic does not provide star stacking, HDR merge, or panorama merge. It can prepare and export supported files, while a dedicated application handles registration and combination. Keep the accepted-source manifest beside the stack project so the result can be rebuilt.
Combine sky and foreground transparently
Process the sky and foreground as separate technical groups, then combine them only when the project permits compositing. Check horizon transitions, tree branches, reflections, shadow direction, and scale. A clean mask is not enough if the light relationship becomes physically confusing.
Disclose a tracked sky, time blend, or separately exposed foreground when that information matters to editorial or scientific interpretation. A creative landscape can use these methods, but the caption should not imply a single documentary exposure when the final image is a composite.
Camera and lens considerations are collected in Camera Hardware, while the main photography blog links to broader night and workflow topics. Use those references to refine capture choices without replacing project-specific notes.
Export a master and preserve the recipe
Save a high-quality composite master before final resizing and output sharpening. Create separate web JPEG, print TIFF, or projection files from that master. Specify color space, dimensions, and sharpening for each use, then inspect the exact export for banding, clipped stars, corner artifacts, and gradient transitions.
Handle location metadata according to site sensitivity. Public files do not need exact coordinates when they expose private land, fragile terrain, or a vulnerable observing site. Preserve lawful access notes privately and avoid implying access that was not available.
Archive CR3 originals, calibration material, sequence notes, exclusion reasons, rendered inputs, stacking project data, composite masters, and final deliveries. The complete recipe is what allows a future processor to improve the result without inventing the original conditions.
Validate calibration material before relying on it
Dark frames should match the relevant light-frame exposure conditions closely enough for the chosen calibration method, and they must be made with light excluded. Flat frames need an evenly illuminated field and the same optical path whose shading or dust pattern they are intended to correct. Bias or short reference frames serve another purpose. Store each class separately and record how it was made.
Inspect calibration files for accidental leaks, gradients, clipping, or a changed focus or filter configuration. A corrupt calibration master can imprint a pattern across every combined frame. Run a small test on representative lights before committing the complete sequence, and compare the result with an uncalibrated version.
Do not invent missing calibration frames by relabeling ordinary black exposures. If the planned set is incomplete, use a documented alternative supported by the stacking application or process without that correction. The archive should describe the limitation honestly.
Keep panoramas and time sequences outside the star-stack group
A multi-panel panorama changes camera direction, while a time sequence preserves change rather than averaging it away. Both may contain repeated stars, but they require different ordering and combining methods. Label panel, row, and time position explicitly, and prevent duplicate grouping from collapsing their structure.
For a panorama, include sufficient overlap and hold exposure and focus within a row unless the plan calls for bracketing. For a time sequence, preserve every accepted interval and note gaps. A star-stack subset can be derived later, but it should not replace the chronological source.
imagic does not merge panoramas or generate time-lapse video. Use suitable specialist software after the verified CR3 files have been selected, then archive its project data separately from the original capture groups.
Before final output, compare the panorama or time-sequence result with its source contact sheet. Look for missing intervals, repeated objects at panel seams, uneven sky gradients, and stars stretched by projection choices. Save a full-resolution master before cropping or resizing, and retain a list of every source CR3 file used. This list prevents a later revision from quietly substituting another exposure with different cloud, aircraft, or foreground content.
Store a small rendered preview beside each complex project file. Specialist software and versions can change, and a project may not reopen identically years later. The preview is not a replacement for the master, but it records the intended alignment and color while the full inputs preserve the ability to rebuild.
Document the software name, version, and principal combine settings in plain text. A proprietary project file alone may be unreadable after an application update, while a concise recipe remains understandable.
Include the final crop dimensions and color profile in that recipe as well.
Frequently asked questions
Are repeated Canon R5 Mark II sky frames duplicates?
Not when they were captured as a planned stack. Their repeated scene content allows alignment, noise averaging, and rejection of transient artifacts, so accepted members must remain together.
Can imagic merge CR3 star exposures?
No. imagic can assist with supported CR3 review, statuses, adjustments, and export, but a specialist stacking application is required for registration and combination.
Should a foreground made at blue hour be labeled?
Yes. A separately timed foreground changes how the final image should be understood. Preserve the capture group and disclose the blend where accuracy or publication policy requires it.