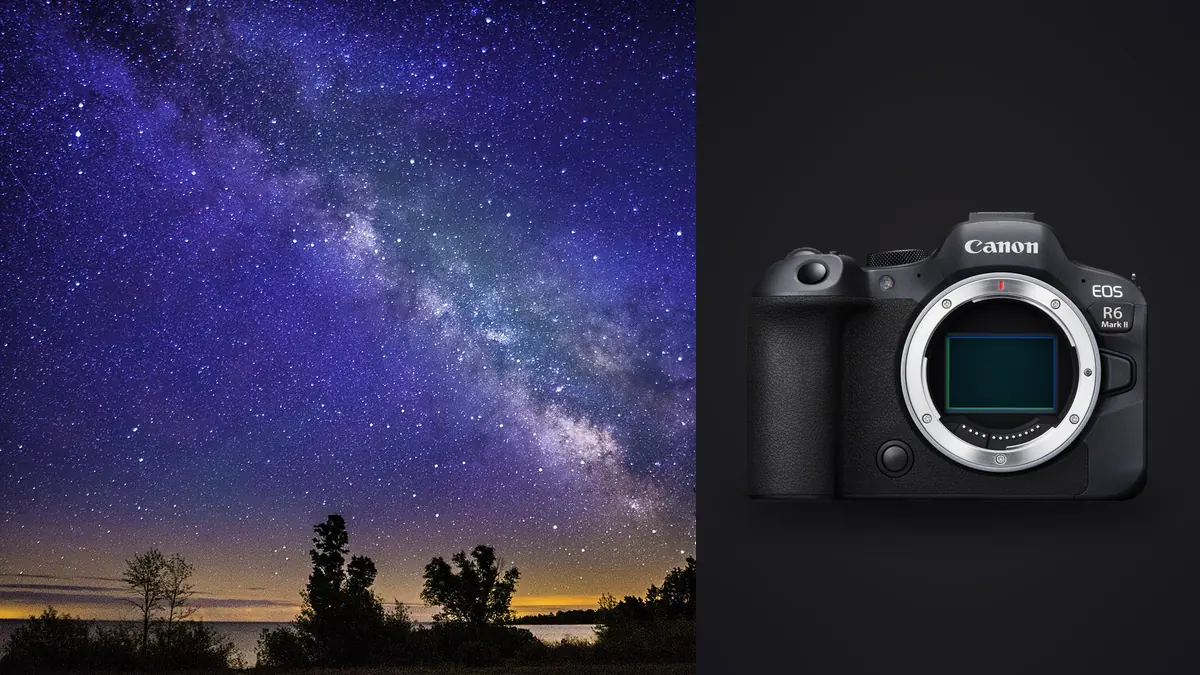
I took the R6 Mark II out for its first real star stacking session on a ranch two hours from any town, expecting the usual mirrorless gremlins that had chased me through older bodies: banding at high ISO, a live view that turned to mush past ISO 6400, a buffer that choked halfway through a 200-frame sequence. None of that happened. What did happen was a much more mundane problem: I came home with 340 RAW files from one night and no fast way to know which fifty were actually sharp. That gap, between "the camera performed" and "now sort this pile," is where most of the real time in star stacking goes, and it's worth talking about alongside the exposure settings everyone already covers.
This is a field guide built around one camera, one genre, and the actual sequence of decisions I make from setting up the tripod to opening a finished stack. I'm not going to pretend the R6 II is flawless for this work (it isn't, and I'll get to why), but it's a genuinely capable body for stacked astro once you understand where its strengths sit.
What the sensor and stabilization actually buy you
The 24.2MP full-frame sensor in the R6 II is not a resolution monster, and for star stacking that's fine. Stacking multiplies effective signal-to-noise ratio, not pixel count, so a moderate-resolution sensor with clean high-ISO output beats a 45MP sensor that gets noisy past ISO 3200. In my testing, this sensor holds usable shadow detail up to about ISO 6400 before chroma noise starts eating into faint nebulosity, and it's close to ISO-invariant from about ISO 1600 upward, meaning you can underexpose slightly in-camera and recover brightness in post without a meaningful noise penalty. That matters because it gives you room to keep shutter speeds shorter (less trailing) without paying for it in exposure.
In-body stabilization is the part people misunderstand. IBIS does nothing for you once the camera is locked down on a tripod, and in fact you should switch it off entirely for long exposures. Leaving it active with no motion to compensate for can introduce a very faint drift as the stabilization unit hunts for a center point, which shows up as slightly elongated stars if you're pixel-peeping a stack. Where IBIS earns its keep is during setup and scouting: handheld framing checks in near-total darkness, checking foreground composition before you commit the tripod to a spot, or shooting a handheld test frame at ISO 12800 to judge cloud cover and light pollution direction before you build the real sequence.
Exposure math before you touch the shutter
The old 500 rule (500 divided by focal length) was written for film-era pixel densities and it's too generous on a 24MP sensor. I use the NPF rule instead, which factors in aperture and pixel pitch, and I've built a mental shortlist for the lenses I actually pair with this body. These are rounded numbers from real nights, not a calculator output, because humidity, wind, and how picky you are about 100% crop sharpness all shift the real-world ceiling by a second or two.
| Lens / focal length used | Aperture | NPF-rule max exposure | What I actually shoot |
|---|---|---|---|
| RF 15-35mm f/2.8L at 15mm | f/2.8 | ~14 sec | 11 sec |
| RF 14-35mm f/4L at 14mm | f/4 | ~15 sec | 13 sec |
| Sigma 14mm f/1.4 DG DN (EF adapter) | f/1.8 | ~13 sec | 10 sec |
| RF 24mm f/1.8 Macro IS STM | f/2.2 | ~9 sec | 8 sec |
| RF 50mm f/1.2L | f/1.8 | ~6 sec | 5 sec |
| Samyang/Rokinon 14mm f/2.8 | f/2.8 | ~13 sec | 10 sec |
Notice the pattern: I always shoot a second or two under the calculated ceiling. The NPF formula assumes perfect focus and zero vibration, and even with mirror-free operation, a breeze on a lightweight tripod will soften stars before the formula says trailing should appear. Better to pull one stop of ISO instead of chasing an extra two seconds of exposure that costs you sharpness across the whole frame.
Getting focus locked when you can't see anything
Autofocus is not reliable on stars with this body once you're below third-quarter moonlight, full stop. Dual Pixel AF hunts on faint points of light and will occasionally lock onto nothing, which you won't notice until you're reviewing frames at 2am wondering why every star looks like a soft blob. My routine is manual focus, every time: switch the lens to MF, find the brightest star or a distant planet in live view, punch in to 10x or 15x magnification, and nudge the focus ring until the point tightens to its smallest size. Then I tape the focus ring down with a strip of gaffer tape, because temperature drop over a three-hour session is enough to shift focus on some RF glass, particularly the f/1.2 lenses with their long throw. One habit that's saved entire sessions: shoot a single test frame, zoom to 100% on the rear screen, and actually check it before you start your sequence. It costs thirty seconds and it catches a soft-focus night before you've burned two hours shooting nothing but blurry stars.
Running the actual sequence
For a stacked star field, I'm typically shooting 30 to 60 frames minimum, sometimes closer to 150 if I want a genuinely clean result for a print. A few settings decisions that matter specifically on this body:
- Shutter mode: mechanical or electronic first-curtain, not fully electronic. The R6 II's fully electronic shutter can introduce faint banding in long exposures under certain conditions, and there's no rolling shutter concern at these speeds anyway, so there's no reason to use it here.
- Long exposure noise reduction: off. It doubles your time between frames (a dark frame of equal length gets taken after every shot) and most stacking software does its own noise averaging across the frame stack anyway, which does the job better.
- Interval timer: the built-in intervalometer handles this fine without an external remote, which is one less thing to fumble with cold hands. I set a 1-second gap between exposures, just enough to clear the buffer without leaving dead time.
- Battery: the LP-E6NH is rated for roughly 380 shots per CIPA testing, but cold cuts that down noticeably. On a 4°C night I get through about 220 frames on one battery. I carry three and keep the spares in an inside jacket pocket, not in the camera bag.
Dew is the other silent killer. The R6 II has no built-in lens warmer, obviously, so a USB dew band on the front element is not optional past about an hour into a session with any humidity at all. I've lost entire sequences to fog creeping in on frame 40 of 60, invisible on the rear screen in the dark, only obvious once I'm looking at thumbnails the next morning and half of them are soft-focus mush from condensation.
Choosing how to stack
What you shoot changes what you stack with. If the camera is on a fixed tripod (no tracker), your subs each have stars in a slightly different position from frame to frame due to Earth's rotation, and you need software built for that: Sequator or Starry Landscape Stacker align on the stars themselves and blend a separately-exposed foreground so buildings and trees don't smear. If you're shooting on an equatorial tracker, the stars stay put between frames and DeepSkyStacker or PixInsight are the more common choices, built around deep-sky integration rather than landscape blending.
I shoot untracked nightscapes more often than tracked deep-sky work, mostly because I'm usually also shooting foreground elements the same night and don't want to carry a tracker mount up a trail. Sequator handles the R6 II's RAW files cleanly, though I always export a TIFF from Lightroom first rather than feeding it CR3 files directly, since the stacking software's RAW decoder isn't as reliable as Canon's own processing for this sensor.
Where the real time sink actually is
Here's the part nobody puts in the exposure-triangle tutorials: after a three-hour session you're not looking at thirty perfect frames, you're looking at three hundred, and a meaningful chunk of them are unusable. Some got hit by a plane or satellite trail. Some drifted soft as dew crept up on the front element over the last forty minutes. Some have a stray headlamp beam from a hiker two ridges over. Sorting that by eye, frame by frame at 100% zoom, is genuinely the least enjoyable part of astrophotography, and it's where I burn more hours than I spend actually shooting.
This is the one part of my workflow I stopped doing manually. I run the full night's take through imagic before it goes anywhere near a stacker, and its sharpness scoring flags the soft-focus casualties (dew fog, wind-shake, the frames where the tripod got bumped) in a fraction of the time it takes to click through them one by one. Because it processes everything locally on the laptop I bring into the field, this actually works at a site with zero signal, which describes most of the dark-sky locations worth driving to in the first place. The duplicate and burst clustering is also handy here in a way it isn't for normal shooting: a sequence of forty near-identical star frames is exactly the kind of thing that clustering tool was built to group, so you can review one representative frame per cluster instead of forty nearly identical ones. If you haven't looked at how that kind of automated sorting actually works under the hood, this breakdown of AI photo culling covers the sharpness and clustering logic in more detail than I have room for here.
The other place imagic earns its spot in this workflow is after the stack is done. A single night usually produces a stacked star field plus several separately-exposed foreground frames, shot at different times as the light or a headlamp moved through the scene, and getting consistent color and contrast across that set used to mean re-editing each one by hand. I built a preset from my own past edits using apply_my_style, and now that consistency happens automatically when the new files land in the same folder as everything else I process that week. It's a small thing, but it's the difference between a set of images that look like they belong to one output and a set that look stitched together from three separate editing sessions. For another night out with this same body, see this earlier R6 Mark II star stacking session.
Common problems specific to this body
A few things I ran into that are worth flagging rather than discovering the hard way:
Star-eater processing. Older Canon bodies had a reputation for aggressive in-camera noise reduction that softened faint stars even with long exposure NR turned off. The R6 II is much better about this than the 6D Mark II was, but I still shoot RAW exclusively for stacking work, never RAW+JPEG, both for the storage and because the JPEG engine still applies some smoothing that costs you the faintest stars.
Buffer during rapid sequences. Shooting RAW at one-second intervals for an hour-plus session, the buffer never became a problem for me on a fast UHS-II card, but I did hit a slowdown once on an older UHS-I card that couldn't clear frames fast enough between shots, resulting in a couple of skipped intervals mid-sequence. Cheap card, expensive lesson.
Screen brightness in the dark. The rear screen at default brightness will wreck your night vision every time you check focus. Drop it to its lowest setting and switch on the red-tint display option if your firmware has it; it's a small setting but it changes how much of your dark adaptation survives a review check.
Frequently Asked Questions
Is the Canon EOS R6 Mark II good enough for star stacking without a tracker mount?
Yes, for wide-field nightscapes it's a strong untracked option. The high-ISO performance and IBIS-off tripod stability mean you can build a clean stack from 30-60 short exposures without needing a tracking mount, as long as you keep individual exposures under the NPF-rule ceiling for your lens. A tracker becomes worthwhile if you're pushing into narrow-field deep-sky targets like nebulae, where you need exposures longer than a few seconds per sub.
What ISO should I actually use when shooting subs for stacking?
I stay in the ISO 3200 to 6400 range on this camera for most nightscape stacking. Above ISO 6400 the noise reduction you gain from stacking more frames starts losing ground to per-frame chroma noise that stacking can't fully clean up. If you're finding your stacks noisy at high ISO, it's usually more effective to shoot more frames at ISO 3200 than fewer frames at ISO 12800.
Does turning off in-body stabilization actually make a visible difference?
On a solid tripod, yes, though subtly. I've compared stacks shot with IBIS left on versus off, and the IBIS-on stars show a very slight softening at 100% crop, consistent with the stabilization unit making tiny corrections with nothing to correct. It's not dramatic, but on a tripod there's zero downside to switching it off, so there's no reason not to.
How do I stop dew from ruining a session partway through?
A USB-powered dew heater band around the front element is the only reliable fix I've found. Battery-powered hand warmers wrapped with a rubber band work in a pinch but lose effectiveness within an hour. Start the heater from the first frame rather than waiting until you see fogging on the screen, since by the time it's visible in low light, several frames are already compromised.