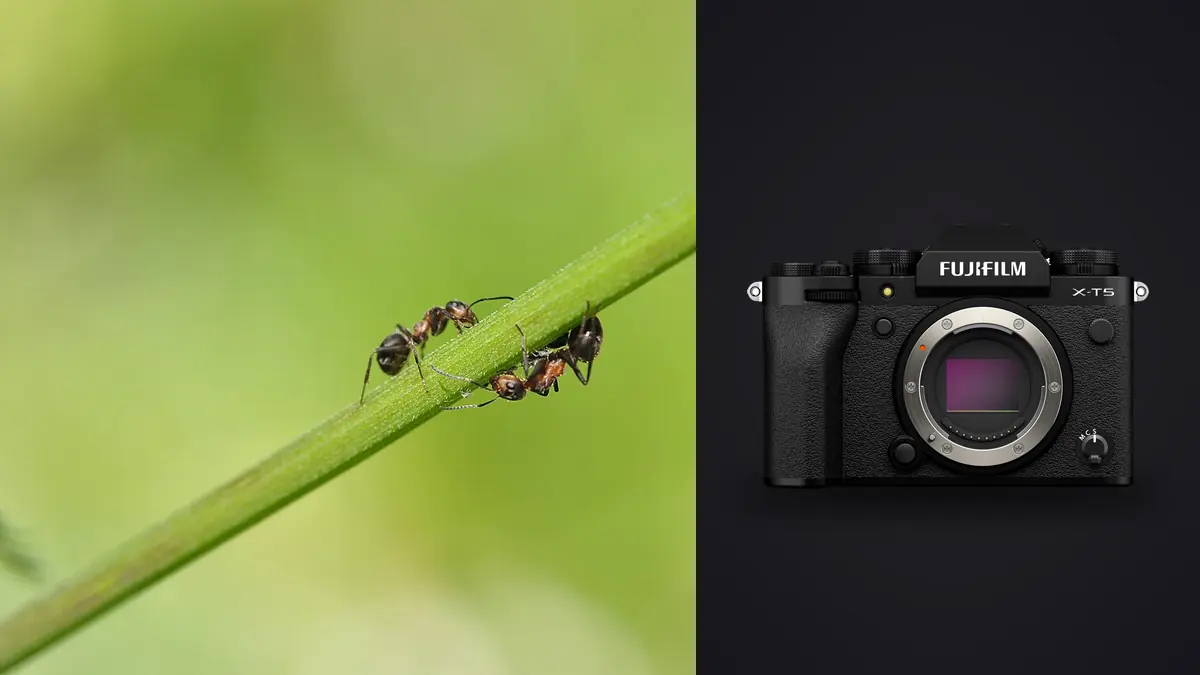
Advanced macro work is less about adding accessories than about keeping a fragile chain under control. At close range, a tiny change in camera angle moves the focus plane, a breeze changes subject distance, flash placement alters both reflection and background, and an enthusiastic approach can disturb the insect. The Fujifilm X-T5 offers useful focusing aids and bracketing options, but the camera cannot decide which part of a living subject matters or when to stop.
This Lens and Location Guide is designed for photographers who already understand aperture, shutter time, and magnification. It starts with habitat, ethical access, working distance, background, wind, and the lens needed for that combination, then connects those choices to focus and review. Establish subject welfare and location stability first; the technical sequence comes afterward.
Choose the macro lens from subject distance and habitat
A shorter macro lens can be compact and easy to position around static plants or tabletop subjects, but it may bring the camera, diffuser, and photographer close to a wary insect. A longer macro increases working distance and can narrow the background, while adding size and making aim, support, and wind more demanding. Magnification alone does not decide.
Check the lens's minimum-focus behavior, extension, focus limiter, stabilization, converter compatibility, and the physical room needed for diffusion. A lens that fits a flower bed may be awkward low among rocks or inside dense foliage. Practice at the intended camera height with the complete modifier attached.
For environmental close-ups, a telephoto with useful close focus may show the insect in habitat without approaching as closely. For identification detail, a true macro may be necessary. Pick the image purpose before choosing the optical tool.
Scout micro locations for light, wind, and safe footing
Observe where insects warm, feed, rest, and pass through the habitat without altering it. Note sun direction, reflective leaves, bright gaps, wind channels, and the direction from which a clean background is possible. Return when normal behavior and light align rather than moving the subject to a convenient set.
Check where knees, tripod feet, bags, and diffusers can go without crushing plants, blocking trails, or entering water. A beautiful low viewpoint is unusable if reaching it damages habitat. Plan a fallback composition from the established path and leave precise locations unpublished when species protection requires it.
Confirm the subject can be photographed responsibly
- Observe first: identify feeding, resting, mating, nesting, or defensive behavior before moving closer.
- Protect habitat: stay off fragile plants, avoid breaking cover, and do not move a subject for a cleaner background.
- Limit disturbance: stop when the insect repeatedly retreats, changes posture, abandons food, or shows another stress response.
- Control artificial light: use the minimum repetition needed, especially at night, and follow specialist guidance for sensitive species.
Photography does not justify chilling, restraining, baiting, or relocating wildlife merely to make focus easier. Laws and conservation guidance vary, so learn the rules for the site and species. If identification is uncertain, use a neutral caption until a qualified source confirms it. Exact locations for rare species may need to remain private.
Build a baseline around working distance
Choose the lens and magnification from the distance the subject permits. A longer working distance can help with wary insects and lighting placement, while a shorter setup may be smaller and easier to carry. Effective framing, not a maximum reproduction label, should decide. Leave enough space for antennae, legs, and a sudden turn.
Fit the hood or remove it deliberately according to lighting clearance, and check that a filter is not adding flare or reducing contrast. Set any focus limiter to the range you actually expect. Confirm stabilization behavior for handheld work and follow lens and camera guidance when the body is firmly supported. A macro rail controls camera position; it does not stop a moving subject.
Make a textured test frame at the intended distance. Magnify playback and identify whether blur comes from focus placement, camera movement, subject movement, or insufficient depth. That baseline prevents an entire field session from becoming an autofocus experiment.
Align the sensor with the important subject plane
Depth of field can be extremely narrow, so camera angle often matters more than a smaller aperture. For a side-on insect, align the sensor plane with the eye and the most important body features. For a three-quarter view, decide whether the near eye, mouthparts, wing detail, or another feature deserves priority. Trying to make every part sharp can weaken the composition and increase diffraction or background clutter.
Use a small AF area when the eye is distinct and the insect moves unpredictably. For a resting subject, manual focus with magnified view and focus peaking can make placement easier. Peaking indicates contrast, not biological importance, and its display can look more generous than the final focus plane. Confirm with magnification.
Rocking the camera gently can be effective handheld: set magnification, establish focus distance, then move the whole camera through the desired plane and release at alignment. Avoid stabbing the shutter, which moves the camera forward. A short burst may capture the crossing point, but it should remain short enough that subject welfare and useful variation stay visible.
Choose aperture by output, not by habit
Closing the aperture increases geometric depth but eventually softens fine detail through diffraction. The useful balance depends on magnification, pixel density, final display size, and how much of the subject must be resolved. Make a bracket on a static test subject at the same magnification and compare resized outputs, not only extreme screen magnification.
Background structure changes with aperture too. A smaller opening can turn a smooth patch into visible stems and bright polygons. Move the camera a few centimeters, change the background distance, or use a deliberate diffuser before sacrificing the subject plane. Macro composition is three-dimensional; the background is another plane, not an afterthought.
When the subject is moving, additional depth may be more valuable than maximum peak detail because it tolerates small distance changes. When the subject is still and the final output is large, a carefully placed thinner plane may look cleaner. Record the choice rather than treating one aperture as the lens's permanent sweet spot.
Make flash solve movement without erasing the environment
A diffused flash close to the subject can provide controllable light and a brief dominant exposure, but position determines whether eyes, shells, and wings show hard reflections. Increase apparent source size with a diffuser, keep it clear of the subject's path, and inspect highlights on the actual insect rather than assuming a modifier is automatically soft.
Set ambient exposure intentionally. A black background often means the flash-lit subject is much brighter than distant surroundings, not that the habitat was dark. Raise ambient contribution, change camera position, include a closer background, or light the background separately when environmental context matters. Watch shutter and flash compatibility in the X-T5's active shutter mode.
Flash duration and shutter time affect different parts of a mixed exposure. If a sharp flash image has a faint blurred edge, ambient light may be recording movement around it. Make a comparison with less ambient contribution to confirm. If the whole subject remains soft, revisit focus plane, diffuser movement, camera motion, and flash output behavior one at a time.
Use focus bracketing only when the scene can survive it
The X-T5 includes in-camera focus bracketing, as documented in Fujifilm's X-T5 guide. A bracket records a sequence of focus positions; it does not merge subject movement into a clean stack. Resting insects, shed skins, eggs, plants, and controlled studio specimens are stronger candidates than an animal walking in wind.
Choose a stable support, manual exposure, fixed white balance, and lighting that remains consistent throughout the sequence. Start just before the nearest required plane and finish beyond the farthest one. The needed step size and frame count depend on magnification and aperture, so test the exact setup rather than copying a number from a different lens.
Inspect for antenna movement, breathing, wind, changing reflections, and background shifts before investing in a long stack. Keep a clean single frame as an alternative. Stacking software can align small camera movement, but it cannot always reconstruct crossing legs, moving hairs, or a wing that occupies several positions.
Control wind and support without overbuilding the rig
Use your body, bag, or a legal portable screen to reduce breeze without touching habitat. Shorten the center column, spread tripod legs safely, and wait for repeating calm intervals. A beanbag or ground support can be steadier than a tall tripod at low level. Check the background after every support change because a small camera movement radically changes edge relationships.
For handheld work, establish a stable stance before bringing the viewfinder to the subject. Exhale gently, keep elbows supported where possible, and move from the hips rather than bending only at the neck. The X-T5's stabilization can help with camera movement, but it cannot correct an insect swaying out of the focus plane.
Carry clamps and reflectors only where they can be used without damaging the location. Never clamp living plants or block a path used by the subject. A smaller kit often produces more attentive field behavior because there are fewer objects to place around an animal.
Treat each magnification change as a new setup
Moving from a contextual close-up to high magnification changes working distance, effective depth, camera movement, diffuser coverage, and the portion of background included. Recheck all five instead of assuming the earlier exposure and support remain valid. A diffuser that filled the subject at one distance may create a small hard source at another, while a stable stance can become awkward when the lens moves close to the ground.
Record a brief reference for repeatable studio or specimen work: lens, extension, magnification marker, aperture, camera-to-subject distance, light position, and rail step if used. In the field, a simpler voice note is enough. The purpose is not to turn a living encounter into a laboratory measurement; it is to stop unexplained setup changes from being mistaken for camera or focus failures during review.
Protect the sequence and its scientific context
Synchronize the camera clock and keep broad notes on habitat, date, weather, and observed behavior. Separate observation from inference in captions. A photograph can show an insect on a plant; it may not prove feeding, pollination, egg laying, or species identity without additional evidence.
The X-T5 records Fujifilm RAF files, a RAW format supported by imagic. After making verified copies, scan before analysis. Local scoring can help identify technical misses and group similar frames, while culling changes status rather than deleting originals. Human review still determines the important eye plane, behavior, species context, and whether a stacked sequence remained coherent.
Use the desktop workflow for details on local, non-destructive review and the AI and technology section for broader guidance on automated decisions. If an older score appears implausible, check freshness and reanalyze stale photos; reselecting alone only ranks stored values.
Complete an advanced field and desk check
- Welfare: behavior is normal, access is legal, and the habitat remains untouched.
- Plane: the chosen eye or anatomical feature aligns with the intended focus.
- Motion: subject movement, camera movement, and ambient ghosting have been distinguished.
- Light: reflections, diffuser position, ambient balance, and background tone are intentional.
- Bracket: the subject is stable, coverage extends past both limits, and a single-frame backup exists.
- Context: notes separate visible evidence from species or behavior interpretation.
- Files: RAF originals have verified copies before any culling or card reuse.
- Review: magnification, final output size, and sequence movement have all been checked.
Frequently Asked Questions
Is focus bracketing suitable for live insects?
Only when the subject remains still long enough and repeated capture does not disturb it. Keep a single-frame option because small body, antenna, or wing movements can break a stack.
Should stabilization stay on when the X-T5 is on a tripod?
Follow current camera and lens guidance for the exact support and stabilization mode. Test the setup, since firm support, a flexible surface, and a moving rail present different conditions.
Why is the eye sharp but the rest of the insect soft?
The autofocus may be correct while depth of field is simply too narrow. Adjust sensor alignment, aperture, magnification, or stacking strategy according to which anatomical features the image needs.